I know, it’s been awhile. I actually have a few projects to post, I’ve just been lazy when it comes to typing. Usually I’m all about the small treats, it’s my thing. Mostly because I send everything to my husband’s unit, so they need to be handheld. It’s actually somewhat difficult to find reasons to make something big, like a cake. I can have a blastie decorating a cake, or making a torte. So when dinner with friends came up I knew this was my chance! I’ve NEVER made a jelly roll cake. Honestly, I didn’t even know there was such a thing as a jelly roll pan. I always just thought it was a cookie sheet. Nope, there is actually a jelly roll pan. It has deeper sides and it’s a specific size. Like 15×10 or something.
Anywho, I’ve always wanted to try this and what better time than dinner with friends in the fall?! There’s a little more doing things ahead on this one. I was always a little intimidated by these recipes of jelly roll cakes. All that rolling, unrolling, filling, rerolling. In my head I just saw it falling apart and me weeping. This was not the case, so believe me when I say you can TOTALLY do this.
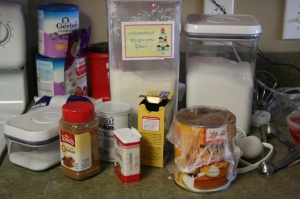
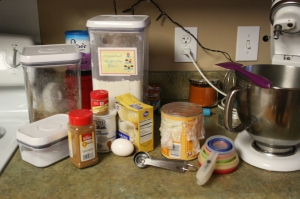
What you’ll need:
3 eggs
1 cup sugar… in case you’re wondering, I always mean white sugar unless I’m specific
2/3 cup pumpkin puree
3/4 cup flour… same thing, it’s always all-purpose
1/2 tsp baking powder
1/2 tsp baking soda
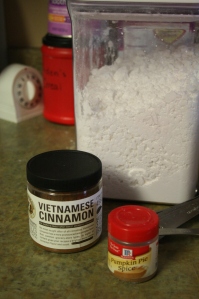
1/2 tsp cinnamon
1/2 tsp cloves
1/4 tsp salt
This looks familiar. That’s because it’s the Libby’s Pumpkin Roll recipe. FYI, every recipe you could want has already been invented. You just have to find it. Sure, sometimes you tweak something here or there, but everything is already out there. I’ll play with my own combination ideas, but something like this I don’t need to put all that effort in cause someone else already did it! Thank you, Libby’s!
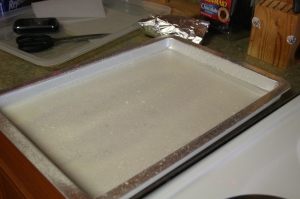
First things first, preheat the oven to 375 so it’s ready, and then prepare the fancy jelly roll pan. If you’re like me and was ignorant of it’s existence, yours is new too. Spray the crap out of that sucker. Then cut a piece of parchment paper to fit in the bottom. Confession time… I ran out of parchment paper and was not about to go to the store with this brood of crazies, so I used tracing paper I use to copy sewing patterns. Hey, it worked. Just make sure the parchment paper covers the entire bottom of the pan or you might lose a corner when you flip (I did). Lay the paper and spray again.
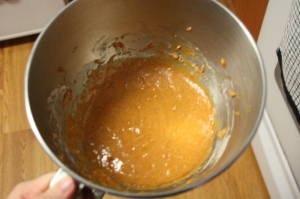
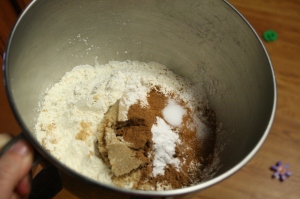
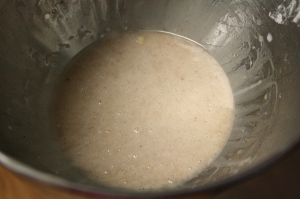
Beat the sugar and eggs, use the whisk attachment if you’re using a Kitchenaid. Add the pumpkin, then all the dry stuff. Mixing doesn’t take much time at all and is thinner than brownie batter but thicker than normal cake mix.
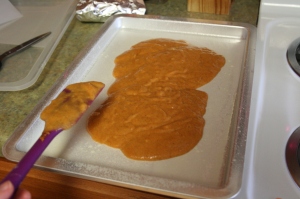
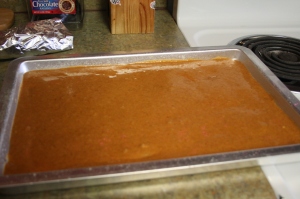
Pour it out into the pan. I know, it looks like it’s not nearly enough. Use a spatula to carefully spread it around, evenly covering the pan. Tan it down a little to get it all smooth looking. Stick it in the oven for 11-15 minutes.
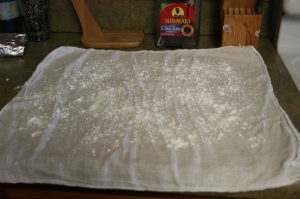
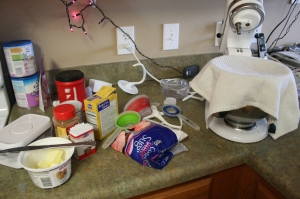
While that’s baking you’ve got time to clean up a bit and get the towel ready. I used a single layer cloth diaper.
Side note… cloth diapers are awesome. I’m not even talking about using them for their intended purpose. They make great cover the Kitchenaid to prevent powder puff towels, proof covers for raising dough, sew some flannel onto it for a non-paper towel or a small square for making little dish towels. Seriously, awesome. Okay off the soapbox and back to it…
Powder sugar this thing like your life depends on it. I don’t think there’s such a thing as too much. It’s going to prevent your cake from sticking when you re-roll it after filling. What did I measure with? My hand. Go nuts!
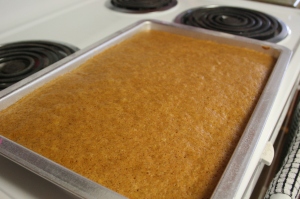
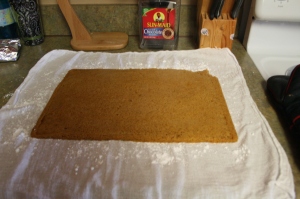
It’ll look at pretty and brown, and feel a little sponge like to the touch. Immediately fill that sucker over onto your well powdered towel and roll.
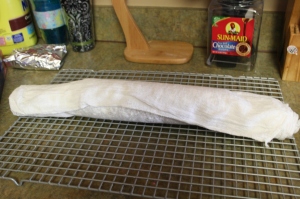
Start on the short end, roll it up and stick it on a cooling rack. This would be a good time to get our 8 oz of cream cheese and 6 TBSP of butter. And here’s why…
The filling! Wait till the cake feels pretty much completely cooled. Mine was just a tiny bit warm. So your cream cheese and butter have been sitting out and are now all room temp and butter. I have a love-hate relationship with cream cheese. Seems like every other time I work with it I can’t get it smooth enough. Only time it doesn’t give me trouble is doing oreo truffles in the food processor. Oh don’t worry, those will come up soon.
What you’ll need:
8 oz cream cheese
6 TBSP butter
1 cup powdered sugar
1 tsp vanilla
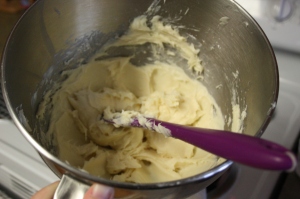
Put everything in the bowl and start mixing. This is one of the easiest fillings I’ve made. It’s thicker than I thought it would be. Don’t panic.
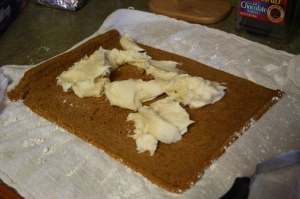
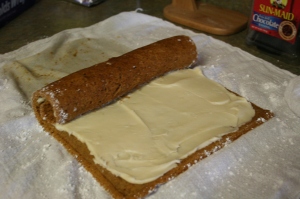
Scoop it out and plop bits around the mostly cooled cake that you’ve just unrolled. Do you see that little angled spatula in the corner of the picture? It should be one of your best friends. I think we’ve been over this before, my admiration of the small angled spatula. Seriously, get one. Print out a 40% one item at Hobby Lobby and jump on that. Not the giant one, although that sometimes comes in hand, but the little one. You won’t regret it.
So spread that all out and roll it back up, only this time without the towel because that would taste terrible. Take your time, rolling and pulling off the towel a little at a time.
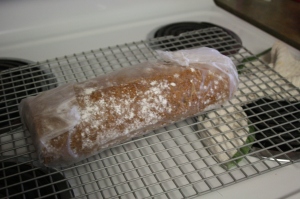
Wrap it up in some plastic wrap and stick it in the fridge seam down for at least an hour. I used cling wrap cause I don’t have plastic wrap. Regular plastic wrap isn’t very useful for me and ends up being highly annoying. Fun fact… add a layer of tin foil over your plastic wrap and your cake can live in the freezer for up to 3 months! You could make this in July and totally bust it out for October. One day, when I have a chest freezer in the garage I plan on having no less than two roll cakes in storage. You just never know when you’ll want a roll cake. I see a giant version of a Little Debbie Swiss Roll in my future. Not for awhile though, there’s more pumpkin to be had!

